Making Soft Paneer at Home: Unraveling the Secrets
Paneer Recipe: Creating paneer at home is an uncomplicated process, devoid of any complexities. Say goodbye to store-bought Indian cottage cheese with additives, and embrace the art of making your own, ensuring superior taste, freshness, and flavor.
Why Homemade Paneer Triumphs Over Store-Bought Versions
Discover the joy of selecting the milk of your choice and elevate your culinary experience. For those new to Indian Cuisine, here are some frequently asked questions to guide you.
What Exactly is Paneer?
Paneer, a fresh cheese, emerges from curdling milk using acidic elements like lemon juice, vinegar, buttermilk, yogurt (curd), or citric acid. It stands out as a soft yet firm, non-melting cheese, distinct from rennet-utilizing or fermented varieties.
The Paneer-Making Process Unveiled
To craft paneer or chenna, boil milk and curdle it with an acidic agent. Draining the curdled milk solids onto muslin or cheese cloth, followed by pressing and cubing, completes the process.
Versatility in Paneer Recipes
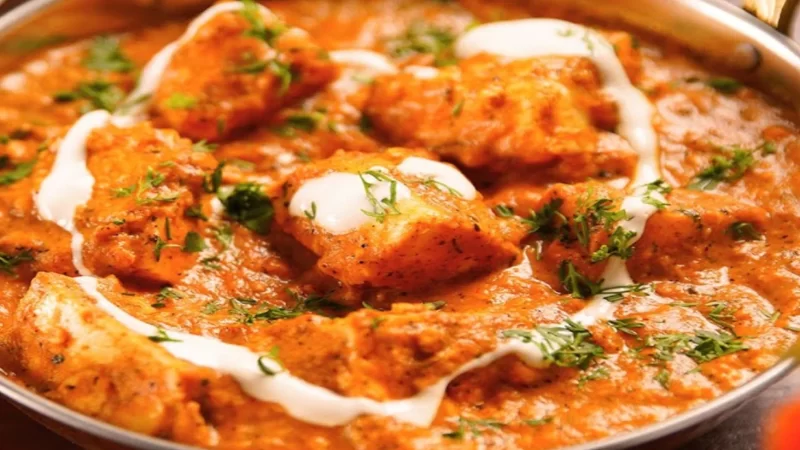
Utilize these cubes in an array of delightful recipes, including classics like Paneer Butter Masala, Matar Paneer, and Paneer Tikka Masala. Alternatively, explore options like Malai Kofta, Paneer Bhurji, or Paneer Sandwich without setting the paneer.
The Role of Acids in Paneer-Making
Commercial Paneer Recipe often relies on citric acid, while homemade versions offer the flexibility of using yogurt, lemon juice, or vinegar. The choice of acidic ingredient significantly impacts the taste, flavor, and texture of the Indian cottage cheese.
Yogurt: Soft Yet Firm Paneer
- Yogurt yields a delightful softness to paneer. Ensure thorough drainage to avoid a mild yogurt flavor, skipping rinsing if squeezed well.
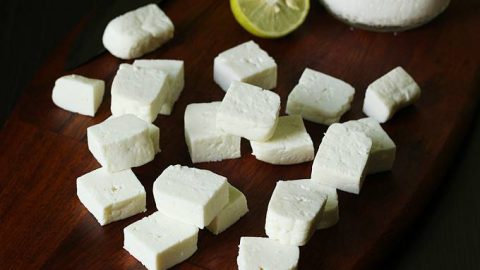
Lemon Juice: A Zesty Twist
- Lemon juice introduces a lemony essence to the chenna. Rinse adequately to prevent a grainy texture, as excessive lemon juice can impact the cheese.
Vinegar: Quick Curdling Champion
- Preferred by many home cooks, vinegar accelerates the curdling process. Exercise caution to prevent an altered flavor due to excessive vinegar usage.
Choosing the Right Acidic Element
- While yogurt yields the softest paneer, lemon juice or vinegar can also be effective, providing flexibility in the crafting process.
Determining the Amount of Lemon Juice
- There is no universal measure of lemon juice or vinegar for paneer-making per liter of milk. Factors like milk type and processing variations in commercial milks dictate the judgment of the acidic ingredient amount.
Expert Tip: Begin with the Minimum
Judiciously adding the minimum amount of acidic ingredient is key, given the variability in milk types. The provided measures in the recipe card serve as approximations based on practical experience.
Crafting Paneer: A Visual Walkthrough
- Boiling Milk: Heat 6 cups of milk in a heavy-bottomed pot until gently boiling on medium flame.
- Adding Acidic Element: Once boiling, turn off the stove and add 2 tablespoons of vinegar or ¼ cup of yogurt. Stir well for 1 minute.
- Curdling Process: The milk begins to curdle immediately, with solids separating from the whey. If necessary, continue boiling until complete separation, adding a teaspoon of vinegar if needed.
- Finalizing the Process: Turn off the stove as soon as the milk has completely curdled. Clear whey indicates completion. Avoid overcooking, as it leads to hardness and graininess.
Draining
Draining Process: Set the Stage for Paneer Perfection
- Place a colander over a spacious bowl to collect the strained whey. Layer it with a clean cheese cloth or muslin cloth, or even a thin, new handkerchief. Transfer all of the curdled milk into the colander.
Refreshing Rinse: Bid Farewell to Vinegar Smell
- Swiftly pour cold water over the paneer to eliminate any lingering vinegar scent. Rinse the paneer thoroughly under running water until it is clear of vinegar.
Squeeze and Hang: Draining Excess Whey with Elegance
- Squeeze off excess water, knot the cloth, and hang for 30 minutes. This process effectively drains the surplus whey, leaving the paneer still moist.
Shaping the Paneer: Aesthetic Presentation
- Position the wrapped paneer on a flat colander, plate, or wooden board. Shape it into a pleasing round by wringing the cloth, as demonstrated in the video.
Adding Weight: Settling the Paneer’s Form
- Place a hefty object, weighing at least 2.5 to 3 kgs, over the paneer. A pot filled with uncooked rice serves well, but any weighty object will suffice. Allow it to set for approximately 3 to 4 hours.
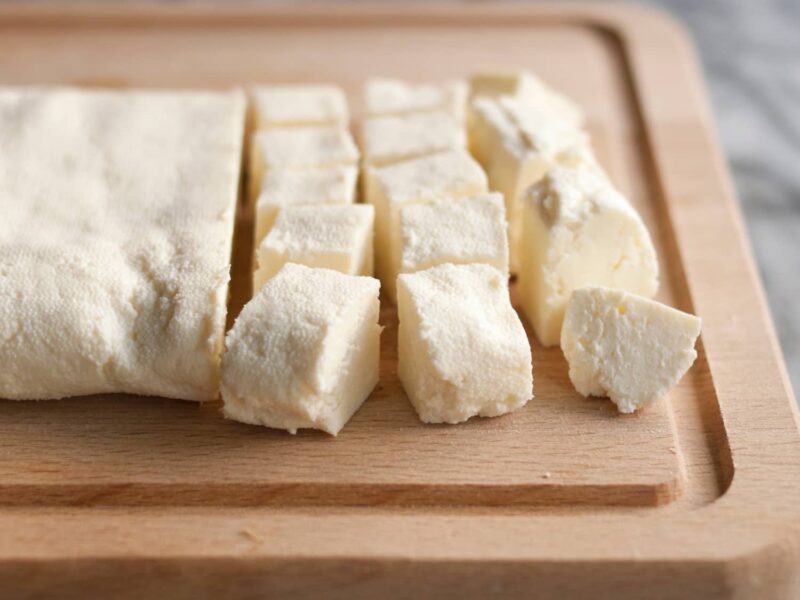
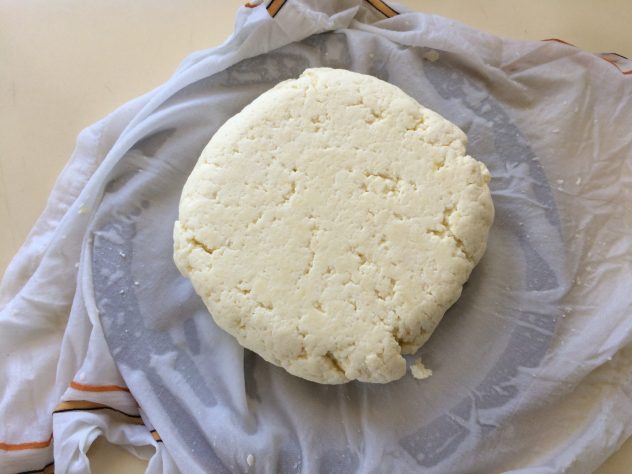
Unveiling the Paneer Block: The Culmination
- Remove the cloth, revealing a round block of paneer. A slight dent is normal and part of the process.
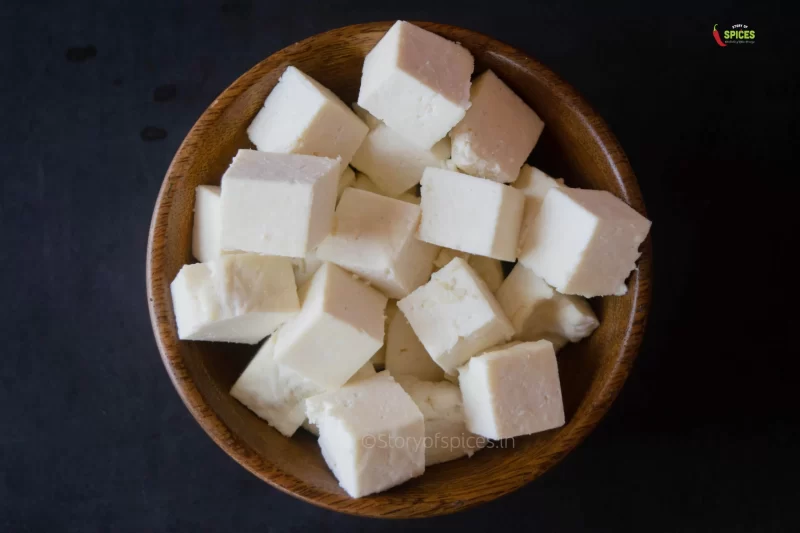
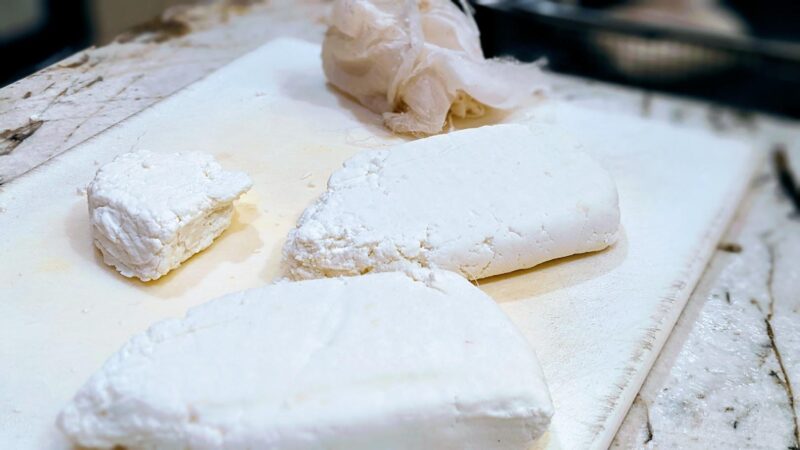
Slicing and Storing: Ready for Culinary Adventures
- Slice the paneer as needed and either use immediately or refrigerate. If storing, consider placing the entire block in a steel box for freshness. Alternatively, pre-cut cubes can be frozen for future use.
Choosing the Right Milk for Perfect Paneer
Opt for full-fat fresh milk, avoiding stale or expired milk for optimal results and health. Whether cow’s milk, buffalo milk, or goat milk, the key lies in the fat content. When using buffalo milk, stir consistently to prevent scorching at the bottom due to quick fat adhesion.
The best homemade paneer emerges from non-homogenized and raw milk, though homogenized and pasteurized milk can also yield excellent results. Skimmed or low-fat milk is discouraged as it may lead to lesser and poorly set paneer.
Tips for Crafting Soft Paneer
Follow these tips for consistently soft and well-set paneer:
- Introduce the acidic element (lemon juice, vinegar, or curd) only after the milk reaches a boil.
- Stir and check for complete curdling after adding the acidic element. Turn off the stove promptly if achieved.
- Avoid prolonged boiling post-complete curdling to prevent excessive hardness and graininess.
- Use the right amount of acidic elements to avoid grainy and rubbery texture. Add lemon juice gradually as needed.
- To halt further cooking, pour cold water or ice cubes immediately after adding the acidic element. Alternatively, transfer the paneer quickly to a muslin cloth-lined colander and rinse under running water.
- Thoroughly drain and squeeze the chenna or milk solids to eliminate excess whey before setting, ensuring proper paneer formation.
Troubleshooting: Why Paneer Cubes Break in Gravy
Paneer cubes may break in the gravy due to low fat content or excess whey in the chenna. To prevent this:
- Squeeze off excess whey before setting the chenna.
- Add the cubes to the gravy only after it thickens.
- Cover the pan after adding the cubes, and turn off the stove. The residual heat will suffice for cooking.
Conclusion
Crafting your Paneer Recipe at home is a rewarding culinary adventure, offering a superior alternative to store-bought options. Embrace the freedom to choose your milk and revel in the freshness and flavor of homemade paneer.
FAQs about Paneer-Making:
Is there a specific ratio of lemon juice or vinegar to milk for paneer-making?
No, the amount depends on the type of milk, with variations even within the same brand.
Does farm-fresh raw milk curdle differently than commercial milk?
Yes, raw unpasteurized milk may curdle with just a few drops of lemon juice, while commercial milk requires different amounts.
Why is yogurt recommended for curdling milk in paneer-making?
Yogurt yields the softest Paneer Recipe, although lemon juice or vinegar can be viable alternatives.
What happens if paneer is overcooked during the curdling process?
Overcooking leads to hardness and graininess, affecting the quality of the paneer.
Can I experiment with different acidic elements for unique paneer flavors?
Absolutely! Feel free to experiment with yogurt, lemon juice, or vinegar to achieve distinct flavors in your homemade Paneer Recipe.